
If you want to require a featured image before your WordPress posts will publish, then we’ve got the perfect plugin for you. Actually, we wrote it! In this Quick Guide, we’ll cover using our Require Featured Image plugin to make a featured image required on all your posts.
Why You’d Want to Require a Featured Image on your WordPress Posts
Often, you’ll have a WordPress post type—whether it’s Post, Page, or any other custom post type like “Product,” “Movie Review,” etc.—that should always have a featured image by the time it’s published. Here on WPShout, for example, we have three such post types: Post, Quick Guide, and Link. We always want new posts in these post types to have an image that goes along with them, no exceptions.
WordPress by itself doesn’t actually provide a way to make a featured image required—in other words, to prevent you from hitting “Publish” until a featured image is chosen. And relying on yourself (or your team) to remember is subject to human error.
That’s where Required Featured image comes in. If the featured image isn’t set, it prevents you from hitting publish. And it does the same thing if the image is smaller than some minimum size you set. You can also set it to work on any combination of post types you choose. And if you don’t want it to work on posts, or want to enforce it per page, it supports that too. It’s a very useful WordPress featured image plugin.
How to Make a Featured Image Required in WordPress
Here’s a video showing how to enforce the use of a featured image in WordPress, using the Required Featured image plugin:
Below is a text guide to the information in the video:
How to Require Featured Image in WordPress: Step-by-Step
- Log in to your WordPress dashboard.

(click to enlarge) - Select “Plugins”>”Add New” from the left had sidebar menu.
- Search for “Require Featured Image” in the keyword search field.
- Find the listing for “Require Featured Image” by Press Up, then click “Install Now”.

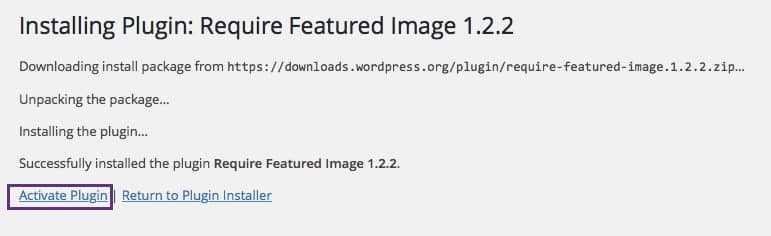
(click to enlarge) - Click “Activate”.

(click to enlarge) - Click “Posts”>”Add New” from the left side bar menu to create a new post, or open a draft that you’d like to set featured image for.
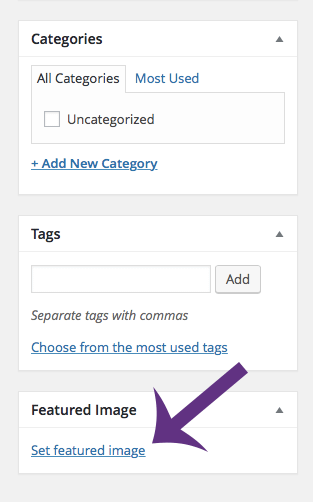
- Scroll to the bottom until you find the field labeled “Featured Image” to the right of your post editor.
- Click “Set Featured Image”.

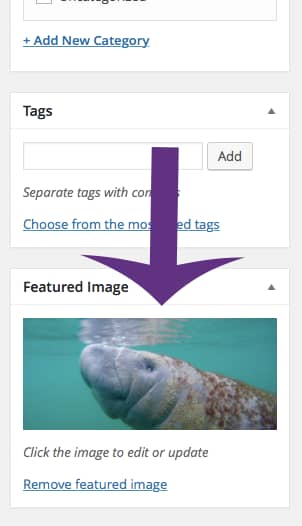
(click to enlarge) - Select a featured image from your media library or upload a new one, then click “Set Featured Image”.

(click to enlarge) - Scroll down to the Featured Image area on the post editor screen again to make sure a thumb nail of the image you just selected appears.

(click to enlarge) - That’s it! Now you can Publish or schedule your post as normal.


Further Reading
If you’re interested in WordPress featured images, image sizing, and images in general, you may enjoy our super-comprehensive guide to WordPress custom image sizes:
Adding and Using WordPress Custom Image Sizes: A Guide to the Best Thing Ever
Thanks for reading!

Please update your great plugin so I don’t get WordFence errors that the plugin has been abandoned
Also do you know of a plugin that can mage image captions mandatory?
Great example to upload an image measuring no less than 4000 x 3000 pixels and clocking in at a “mere” 2MB as the featured image!
NOT